Matlab Stimulus Presenter: manual
by Dr. Sita ter Haar, Erwin Diepgrond en Tonny Mulder

1
Make sure MATLAB 64bits version 2015 or higher is installed on your computer and you have a valid license.
2
Download the latest version of MATLAB Stimulus Presenter and the additional software necessary to run it properly. You can find installation instructions HERE
NOTE
MATLAB is picky on characters you can use for folders and filenames
- Do use: letters, numbers and/or underscores
- Do NOT use: spaces and all characters that are not letters, numbers and/or underscores
4
Set the search folder (‘current folder’) in MATLAB to the folder where you stored the MATLAB Stimulus Presenter program files and where start.m is presented.
NOTE: Even if certain folders are still dimmed, don't add them to the search path.
5
Starting the program: select one option! NOTE: THIS MAY TAKE A WHILE, the first time.
1) typing ‘start’ in the command window (bottom of the screen)
2) dragging start.m to the command window
3) NOTE: ONLY USE THIS OPTION IF YOU REALLY WANT TO EDIT the file!. Double click start.m. This opens the start.m file in the editor. Then click on the green ‘Run’‐button.
6
If everything worked well during the installation, start opens the window below.

BEFORE YOU START
Before you START cranking out an experiment, Relax, think and contemplate!
First, start by constructing a plan, take a piece of paper and sketch it out. Build one trial, on paper. What's the order of events, time intervals etc etc. Then open Matlab stimulus presenter and enjoy!
START THE PROGRAM
1) typing ‘start’ in the command window (bottom of the screen)
2) by dragging start.m to the command window
3) Via the edit Mode. DANGER: ONLY USE THIS OPTION IF YOU REALLY WANT TO EDIT. Double clicking start.m and then clicking on the green ‘Run’‐button. This opens the start.m file in the editor.
CREATE AN EXPERIMENT
The following section will guide you through the steps of creating an experiment. Before creating an experiment, you need to create a stimulus set. The stimulus set contains stimuli to be presented (images, sounds, text etc.). You need separate stimulus sets for each type of stimulus (one audio set and one picture set if you use both in one experiment).
First: START THE PROGRAM
Start by creating stimulus sets
start opens the window below

Stimulus Manager
Open the 'stimulus manager' to create stimulus sets.
Name the stimulus set. Preferably use an intuitive name in order to avoid confusion when creating experiments using that stimulus set.
Stimulus Set Manager
‐New stimulus set: Create new Stimulus Set
-Edit selected: Edit existing Stimulus Set
‐Validate Selected: This option checks if the selected stimulus set is correct, for example if you are missing files.
Stimulus set Editor
‐Add files:Select files of a single type (audio, image etc.).
- For images make sure the resolution is not more than the resolution of the screen you will be using when you perform the experiments. If you don't, the images will be morphed. So, If you want to run the experiment on more than one laptop, check the resolution of all of them in advance (Windows: settings>system>display).
- By default, files are loaded in the order they are selected in the source folder. To add multiple files, select all files to be added.
- Selected files with the same name as already available in the stimulus set, will overwrite the existing ones.
- The original files in the source folder will never be overwritten or deleted by actions in the stimulus set editor.
‐Purge: this removes any unused files in the data set folder. Unused files occur when a file is manually removed from the ‘Dataset’ folder in MATLAB.
‐To the top/Up/Down/To the bottom: Change the order of the files in the stimulus set. Files will be presented in the order as shown in the stimulus set. Unless the randomization option is used (see Seed and Randomness).
‐Open file: opens the file in the default windows/mac application in order to view the file content. Closing the view window will get you back to the data set editor.
Stimulus Manager
start opens the following window
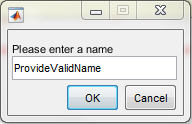
Figure: Name the stimulus set
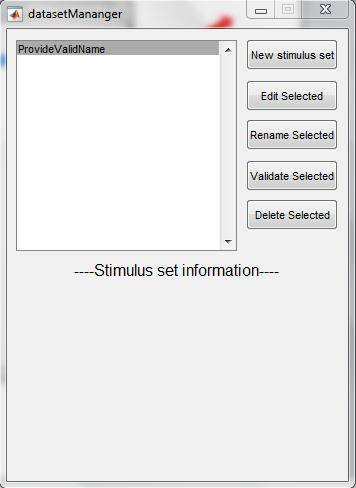
Figure: Loaded stimulus sets
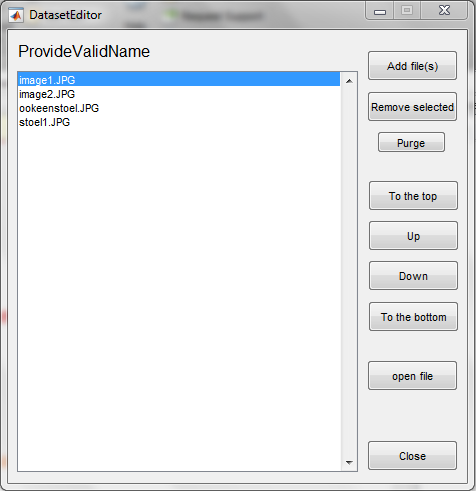
Figure: Files within a selected stimulus set
DESIGN AN EXPERIMENT
The following section will guide you through the steps of designing an experiment. Before creating an experiment, you need to create a stimulus set. The stimulus set contains stimuli to be presented (images, sounds, text etc.). You need separate stimulus sets for each type of stimulus (one audio set and one picture set if you use both in one experiment).
START THE PROGRAM
1) typing ‘start’ in the command window (bottom of the screen)
2) by dragging start.m to the command window
3) Via the edit Mode. DANGER: ONLY USE THIS OPTION IF YOU REALLY WANT TO EDIT. Double clicking start.m and then clicking on the green ‘Run’‐button. This opens the start.m file in the editor.
Start by creating experimental blocks
start opens the window below

Experiment Manager
By clicking the Create/Edit Experiment button you enter the Experiment editor, where you can create your experimental design. Create and name your experiment or edit an existing experiment.
Name your experiment. Preferably use an intuitive name in order to avoid confusion.
Experiment Editor
Create, add, edit, duplicate, save and remove experimental blocks. A block contains a sequence of events, such as the ones you created in the stimulus manager/editor.
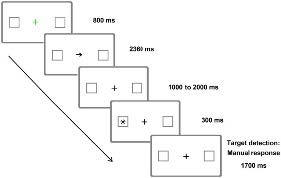
Figure: Experimental flow

Figure: Block buildup
Experiment Block Editor
‐Duplicate selected:To repeat a selected block in your design. Note that also within a block, sequences of events can be repeated.
‐Add existing block: Add previously saved block.
‐Save Block: Save Blocks to file to use them in multiple experiments. This is also recommended if performing separate test runs per block.
‐Up/ Down: Change the order of the blocks
Experiment Manager
start opens the following window
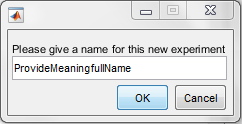
Figure: Name your experiment
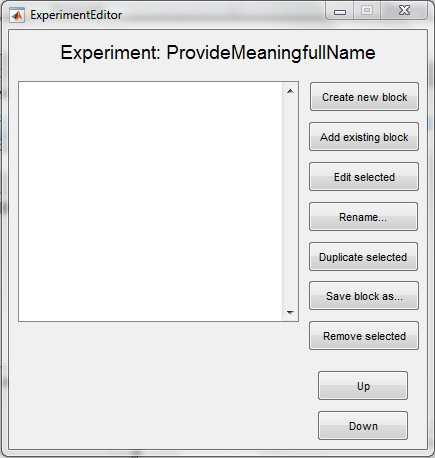
Figure: Loaded experiment
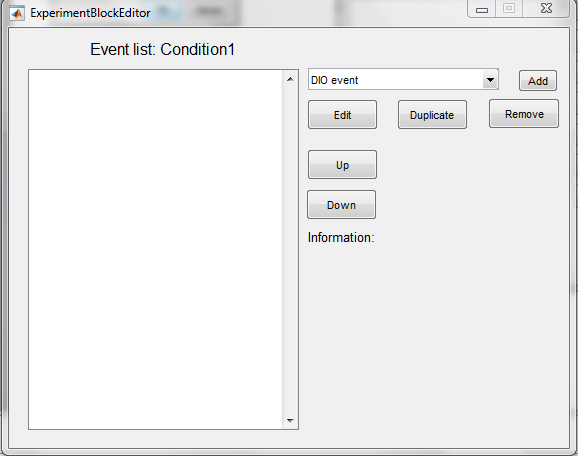
Figure: Blocks within experiment
EVENTS
Select the appropriate type of event in the dropdown menu and click add.
General settings used in several event types:
‐Dataset: select the appropriate previously created stimulus set (see Stimulus manager).
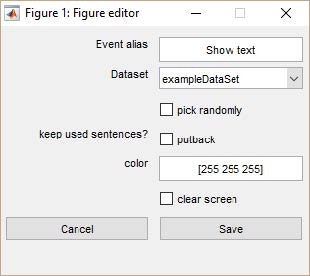
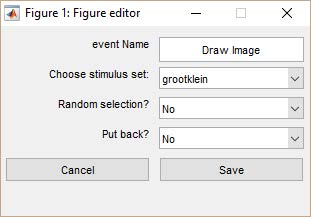
‐Random selection/ Pick randomly/ Randomness: Select if the order of events of this type played should be random. Note that to randomize between participants, select the option seed when you start the experiment. (see also with replacement)
‐With replacement/Put back: If Random selection/ Pick randomly/ Randomness = yes, select this option if no stimuli should be repeated within a block. If stimuli can be repeated do not select this option.
BUG If Randomization = 0, select with replacement in case repeat event is used otherwise an error appears stating you have too little items in your stimulus set.
EVENT TYPES
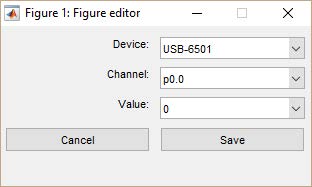
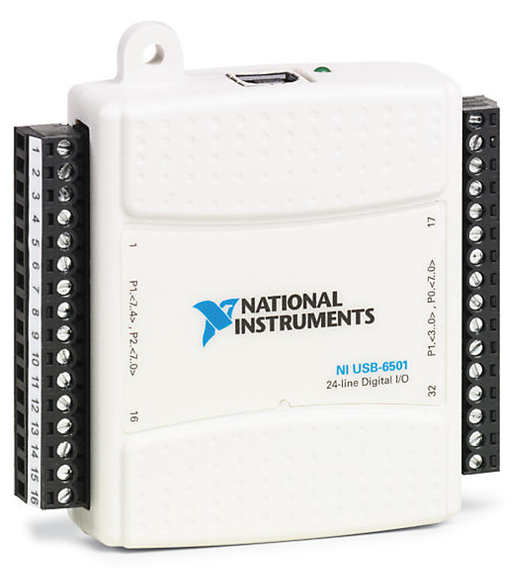
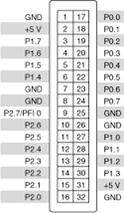
Sends a voltage pulse (trigger) to the EEG/EMG recording equipment.
NOTE: If trigger pulses are used, a NI digital I/O (USB 6501) should be connected
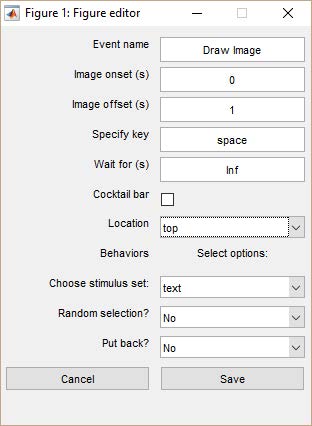
Shows an image while at the same time a response can be given by using a key on the keyboard.
Inserts a random inter‐stimulus interval of the chosen duration between minimum interval and maximum interval with steps of Step Size.
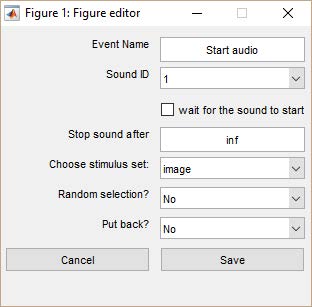
Loads and plays an audio file for a specified time, or for the duration of the whole file.
Shows a line of text from your text file in the Stimulus Set. In contrast to image and audio files, you need to manually copy the text file into the stimulus folder.
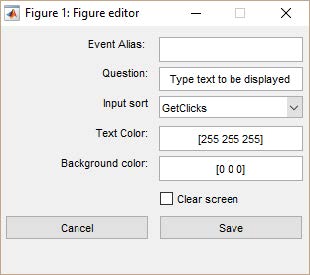
Creates a question for the participant to respond to by typing text or clicking the mouse. Note that the numpad on the right of a keyboard does not generate input.
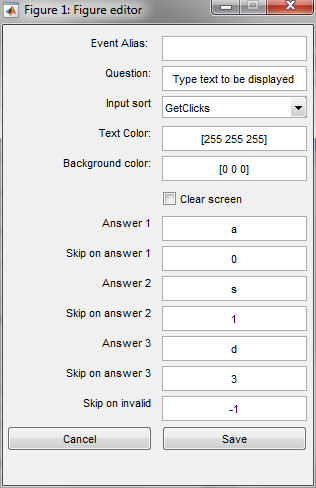
Creates multiple questions for the participant to respond to and the appropriate action in your experiment on the basis of the answers.
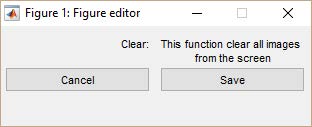
Clears all images from the screen after an image event. If this option is not used, images can be placed on top of each other (stacked).
Displays images on the screen.
Inserts a break between events of a specified duration in seconds.
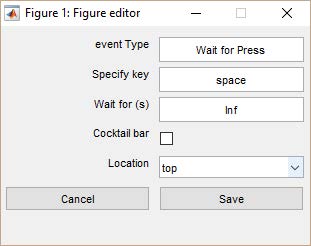
Waits for the participant’s keypress
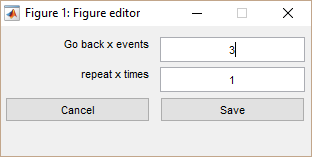
Use this function to repeat block sections
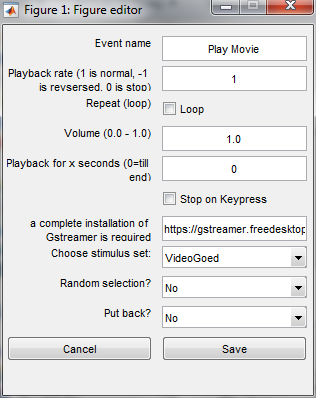
Use this function to play movies within your experiment
RUNNING AN EXPERIMENT
TEST RUN
Before you actually start your experiment on even a pilot participant, always perform a test run because usually not everything is perfect the first time and you need to adjust some settings. We also recommend saving and testing blocks separately. See also debug.Test run Before you actually start your experiment on even a pilot participant, always perform a test run because usually not everything is perfect the first time and you need to adjust some settings. We also recommend saving and testing blocks separately. See also debug.
Start an Experiment
start opens the window below

Click Start Experiment.
1) Select the experiment you want to run.
2) Subject ID: Enter a new Subject ID for each participant to create an individual log file per participant (see logging).
Seed
In order to create a different random order for each individual participant, enter a different number here for each participant.
Preload/load on use
select preload in case of large files (for example audio). This option loads all files per block before the block starts, so the loading does not take time and memory resources during the experiment. If ‘load on use’ is selected, large or many files may cause delays in the experiment.
The maximum total size of the files that can be preloaded is 64MB. Thus, per block use no more than 64MB size in a stimulus set in case you use preload.
Start message
here you can write a start message for participants to read.
Debug
If you type the text “debug” in the Starting Message for the participant, the experiment will start in a separate window on the main screen instead of full screen. Don’t forget to also test the full screen version before you start the actual experiment.
Start Experiment opens the following window
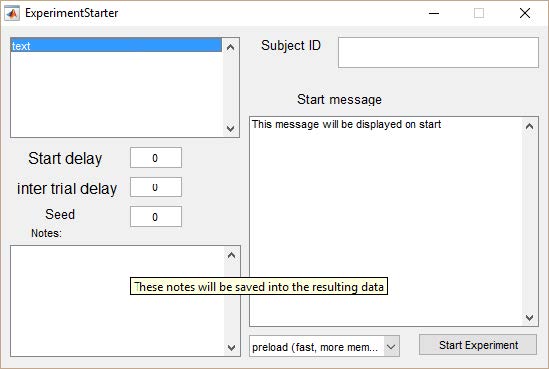
Figure: experiment starter
Click start experiment
the start message will show and when the space bar is pressed the experiment will start. If an external screen is attached to the computer running the program, the experiment will run on the external screen.
Quit/stop
In order to quit/stop the experiment while running, press Shift+2 (@) and close the experiment window. If this does not work, try Ctr+Alt+Delete to open the task manager to close the window.
The final warning!: At the end of the experiment the following message will appear “You have reached the end! Thanks for participating!” DO NOT press Enter or the space bar at this point, otherwise the experiment will run again. Press Esc instead to exit the experiment at the end.
Logging: Each experiment will create a log file. At the end of the experiment you can see where and how the log file is stored: Results_experimentname.csv in the home folder of MATLAB Stimulus Presenter.


